Using JupyterLab on Nero GCP
Warning: You must be connected to the Stanford Full-Traffic VPN to connect to JupyterLab; information about setting up the VPN is available at Stanford VPN.
Connecting to JupyterLab
If your research group uses JupyterLab, you will be provided with your group’s unique url when your account is created. This will be called your JupyterURL in the examples below.
While connected to the Stanford VPN, navigate to your JupyterURL using a modern web browser.
Overview of Jupyter Concepts
What is Jupyter? In a nutshell: it’s a tool for collaborating. It’s built for writing and sharing code and text, within the context of a web page.
JupyterLab is the next UI generation for Project Jupyter, a interactive development environment for working with language specific notebooks, code and data.
Within JupyterLab you can create a Jupyter Notebooks, which provides an environment, where you can document your code, run it, look at the outcome, visualize data and see the results without leaving the environment. Each notebook is associated with a programming language(referred to as kernel), like Python or R.
The JupyterLab UI also provides additional components: file browser, text editor and terminal.
Jupyter Basics
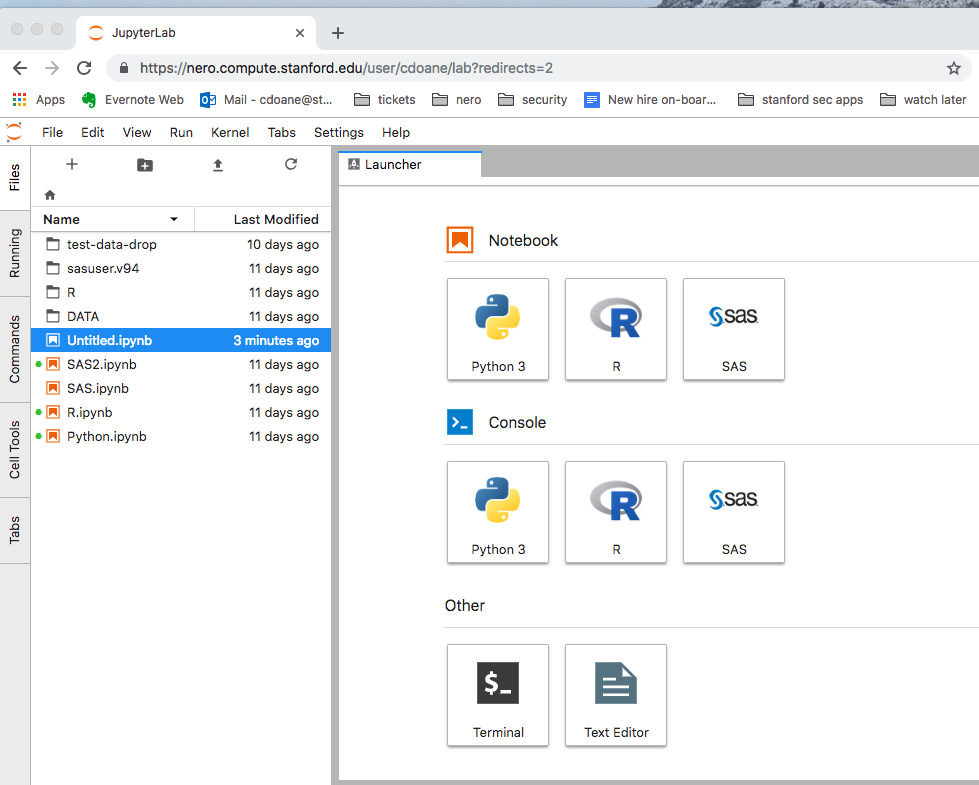
From the Launcher Tab, click on the desired language you would like to use.
- This will create a Untitled.ipynb file. Each .ipynnb file is a text file that describes the contents of your notebook in a format called JSON.
- This notebook has an associated kernel (programming language), these kernels provide the desired language support and executes the code contained in the notebook.
- Cells within a notebook are the containers for text to be displayed or code to be executed by the notebook’s kernel.
Check out the JupyterLab Documentation for a full breakdown of the JupyterLab Notebook Interface.
Software/Kernel Offerings
We currently offer several popular kernels including Python, R, RStudio, Stata, and SAS. These can be accessed via JupyterLab Landing Launcher Tab.
noVNC desktop-like GUI environment is also available. This can be accessed within your classic notebook. From within your Nero Jupyter interface click Help, Launch Classic Notebook, New (on the right next to the upload button), noVNC Desktop. You must use Chrome for noVNC or it will not work.
Each notebook relates to a specific language(kernel), the same way you’d create Python script or SAS script, etc.
Screenshot Jupyter Lab Launcher Tab